Viewing Data Quality Issues
This section is applicable to those that hold the Issue Management System User or Viewer roles.
Searching for issues
Once you have logged into the Issue Management System a search screen will be displayed. Here you will be able to navigate by selecting the appropriate ‘Stream’ and ‘Collection’, your Provider will be automatically populated. (If you have access for multiple providers then you will need to select the appropriate provider from the ‘Provider’ drop-down list for the issues that you want to view). If you want to narrow down your search further, then you can select additional criteria. Once completed select the ‘Search’ button. Your search criteria will be saved until a new search is made. By selecting ‘Clear’ you will remove the search criteria that you had previously applied.
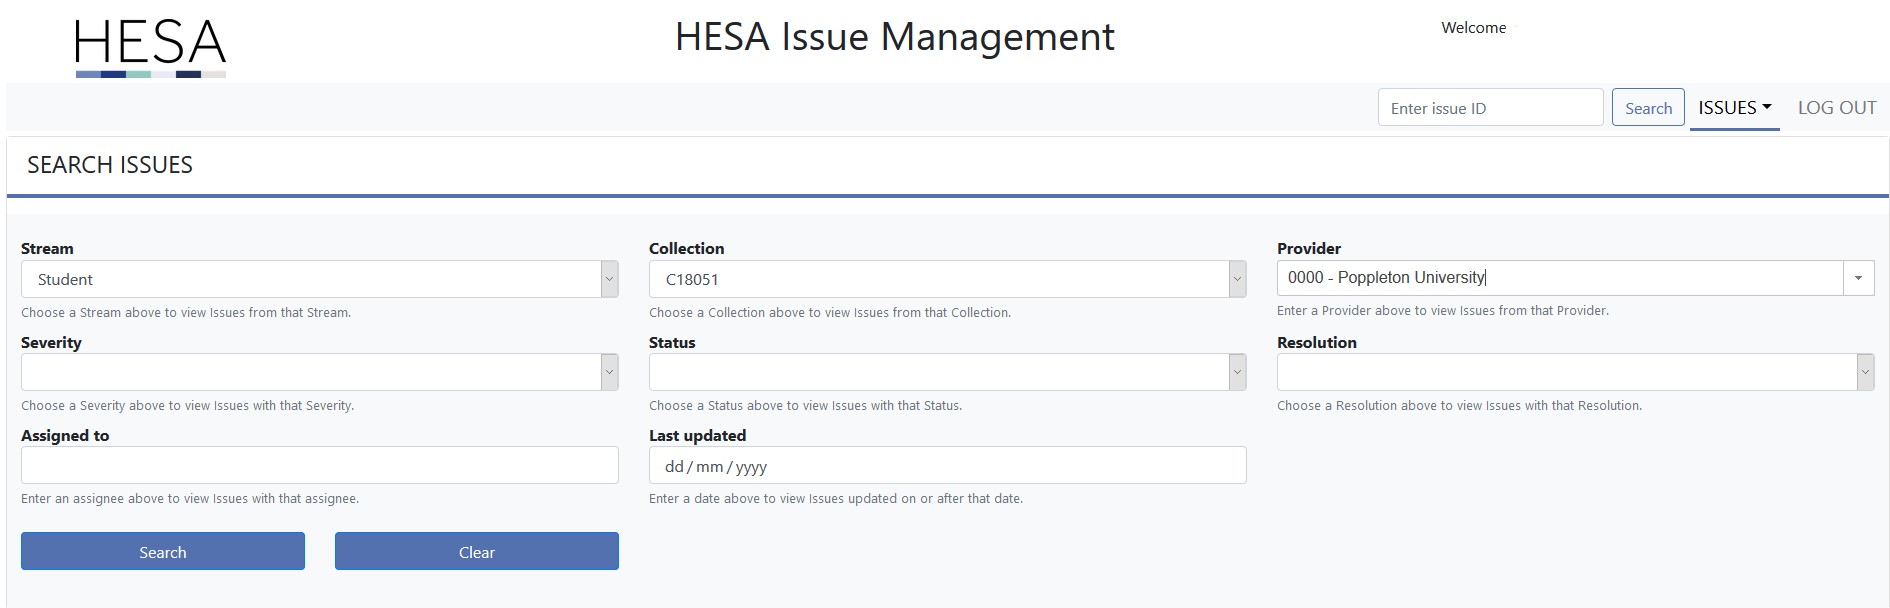
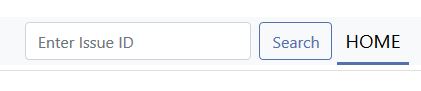
If you are looking for a particular issue then you can search the issue ID using the search bar in the top right-hand side of the screen and selecting ‘Search’.
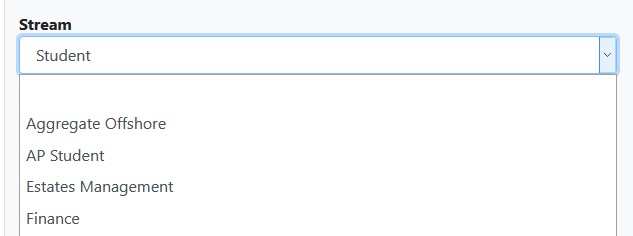
If you hold Issue Management System roles for multiple data streams, then you will see all of these listed in the ‘Stream’ dropdown and will need to select the appropriate one for the issues you are reviewing.
If you are having trouble viewing a data stream that you have the appropriate Identity System roles for then you may need to log out of the system, clear your cache in your internet browser and try again.
Filtering issues
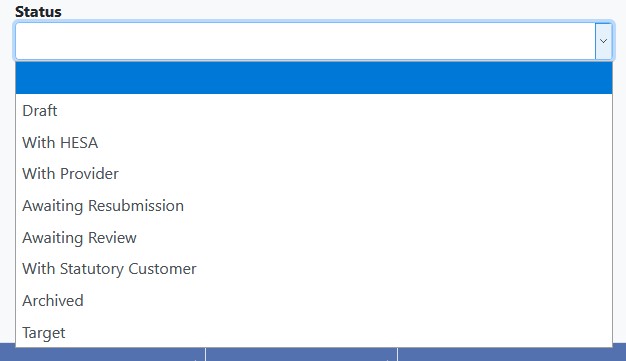
You can filter your search based on the status of the issue, for example you may wish to look at all of the issues that are set to ‘With Provider’ as these issues will require an action.
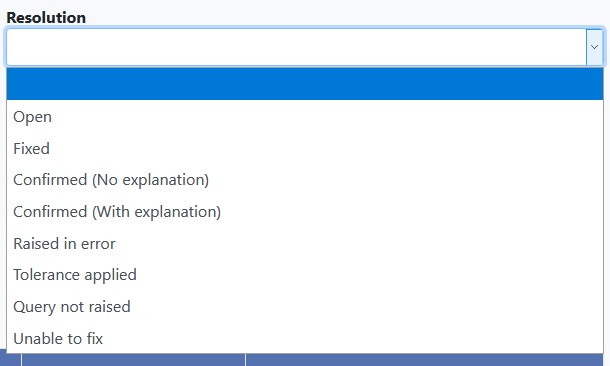
You can also filter your search by the resolution of your issues. For example, you can search for all the ones that are ‘Open’ as they will require an action during the data collection process. Issues that are marked as Fixed, Confirmed (No explanation), or Confirmed (With explanation) will have been archived. Providers are not able to amend the resolution of an issue.
Filtering search results
Once you have performed a search, the results that appear can be further filtered using the additional search box below the filter options.

Display of issues
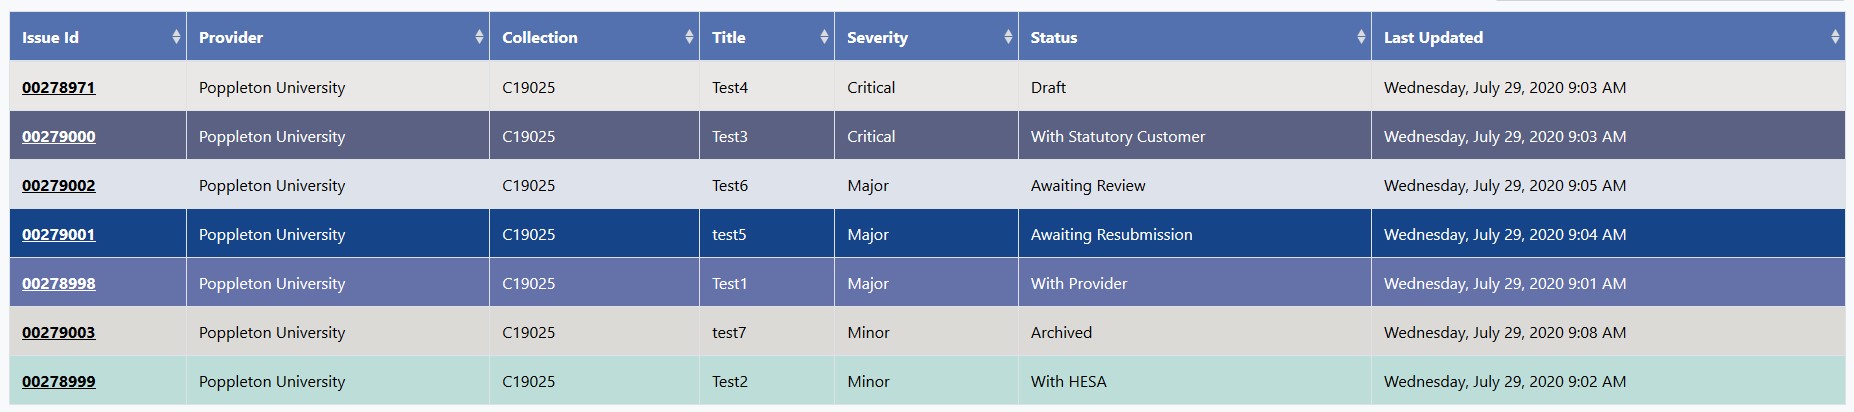
Once the search for issues has been completed, they will be displayed in a table as below. The issues can be sorted by selecting the appropriate heading; the issues will be sorted by default by the 'last updated' column, with the most recently updated issues at the top of the table. The issues are coloured based on their status. To view an issue select the Issue ID number.
Status meaning
|
Status |
Meaning |
|
With Provider |
The issue is with the provider for review and comment |
|
With HESA |
The issue is with HESA for review |
|
With Statutory Customer |
The issue is with the relevant Statutory Customer for review |
|
Awaiting Review |
The provider has given a response to the issue and this needs to be reviewed by HESA or the Statutory Customer |
|
Awaiting Resubmission |
The intention that the issue will be resolved once data has been resubmitted |
|
Archived |
The issue has been closed |
|
Target |
The issue has been set as a target for the following collection year |
Viewing an issue
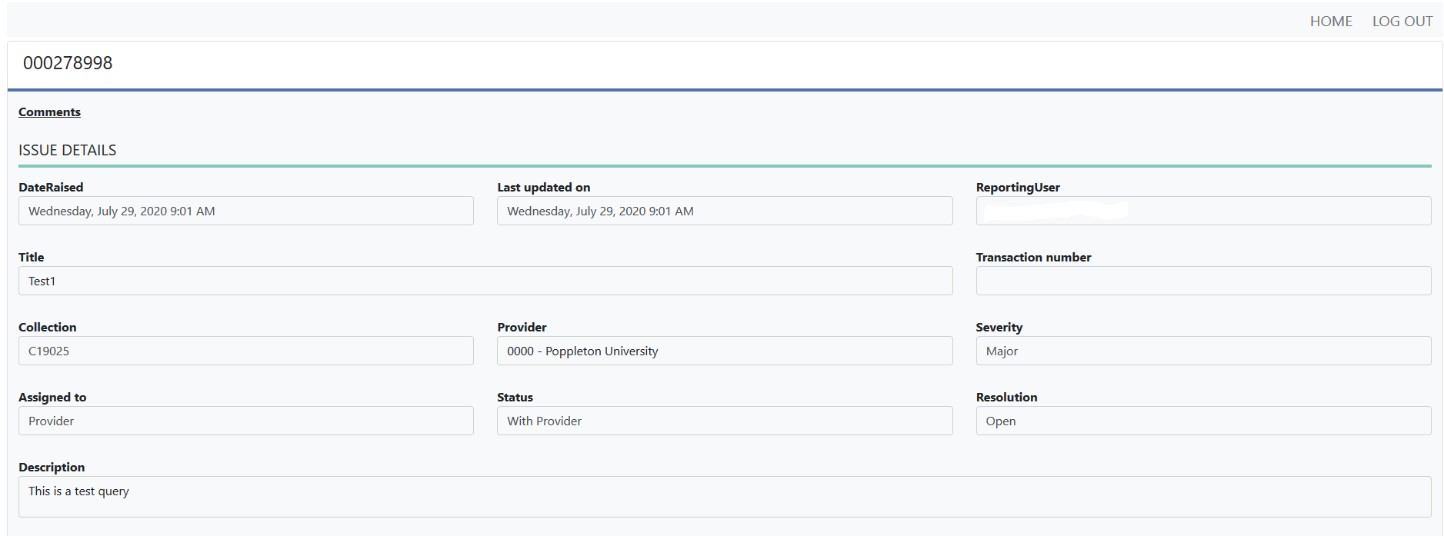
Once you have selected the issue by clicking on the Issue ID, the issue will open. The details will be displayed at the top of the issue which includes the description. Below this the comments will be displayed.

If you hold an Issue Management System User role then you will also have the ability to add comments on this screen. This functionality is covered in the ‘Submitting responses’ section.
Navigating between issues
Once you have finished with an issue, you can select the ‘Home’ button in the right-hand corner, and this will return you to the Search page. Your previous search criteria will be saved. If you want to create a new search, then select ‘Clear’ and then enter your new search criteria.
Alternatively within an issue there are navigational buttons that can be used to move between issues, as detailed in the image below. These can be found within an issue at the top left hand side, next to the Issue ID. The buttons will move you between the issues as they are displayed in the table on the home screen and will take into account any filters that have been applied.

The navigational buttons will perform the following actions:
| This button will take you to the first issue in the table | |
| This button will take you to the previous issue | |
| This button will take you to the next issue | |
| This button will take you to the last issue in the table |
If there is no issue for you to view then a no entry sign will appear when you try to select an unavailable button; for example if you were to select the 'first' or 'previous' button when you were already in the first issue.